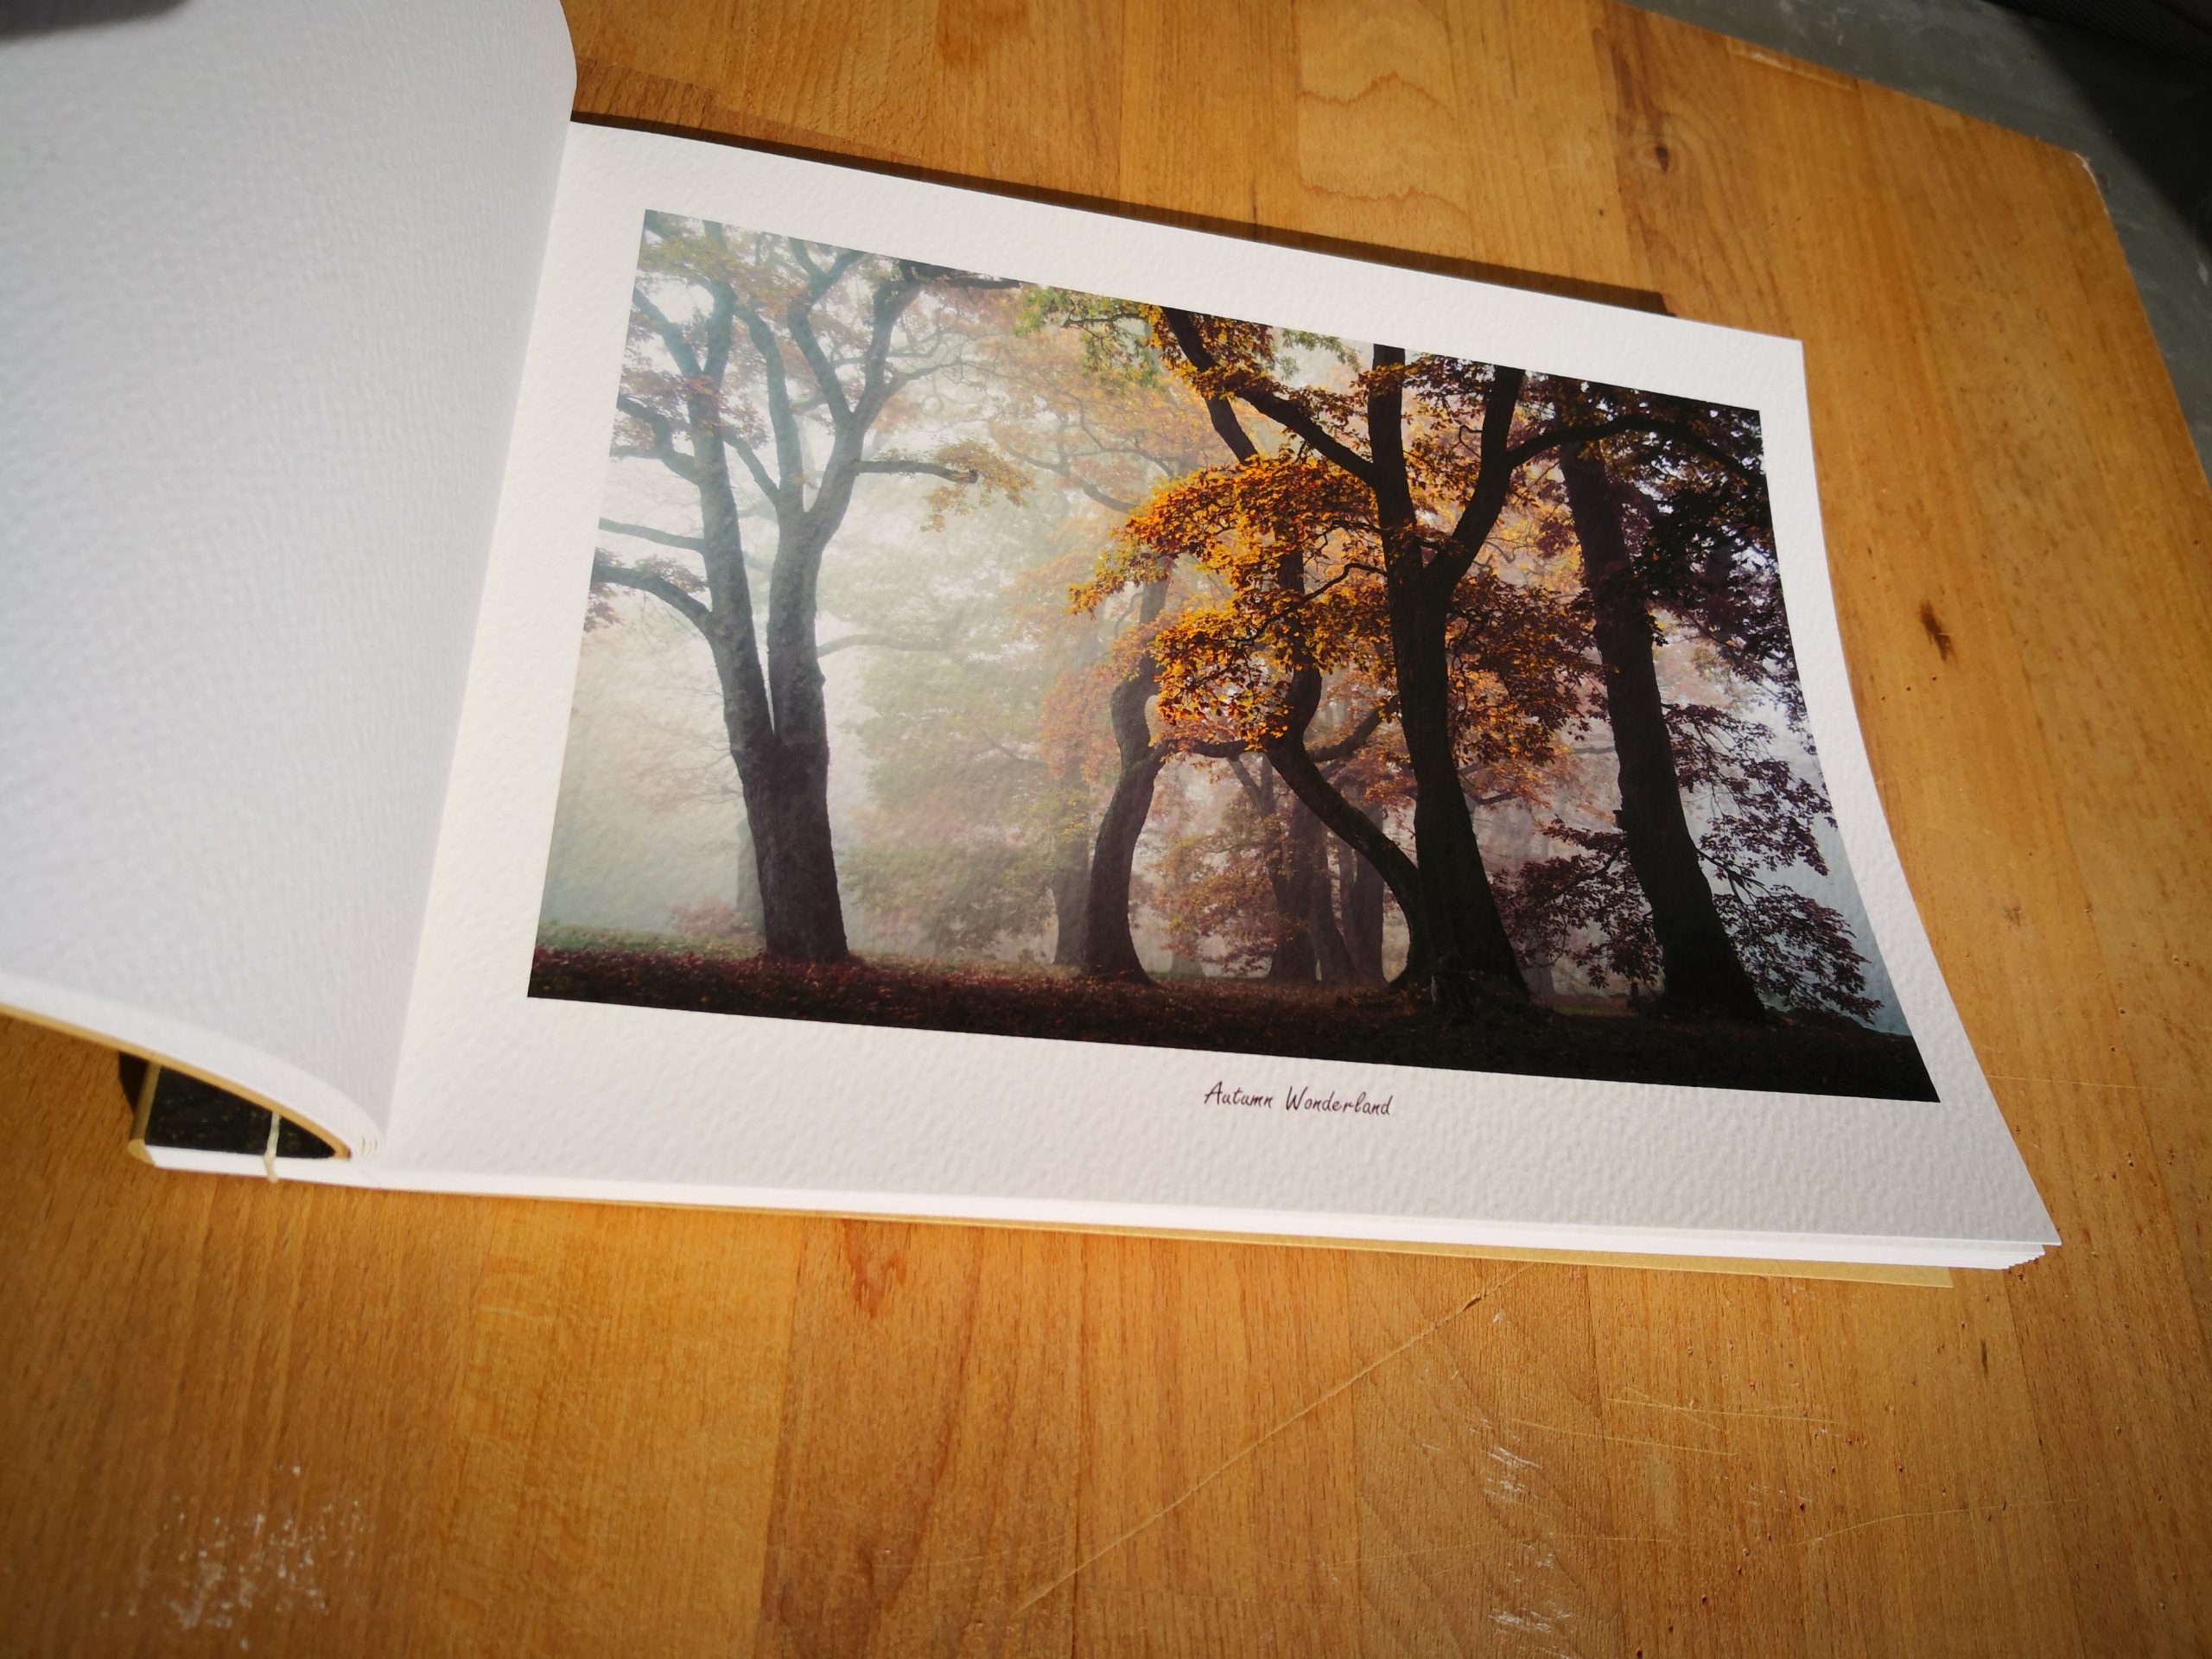
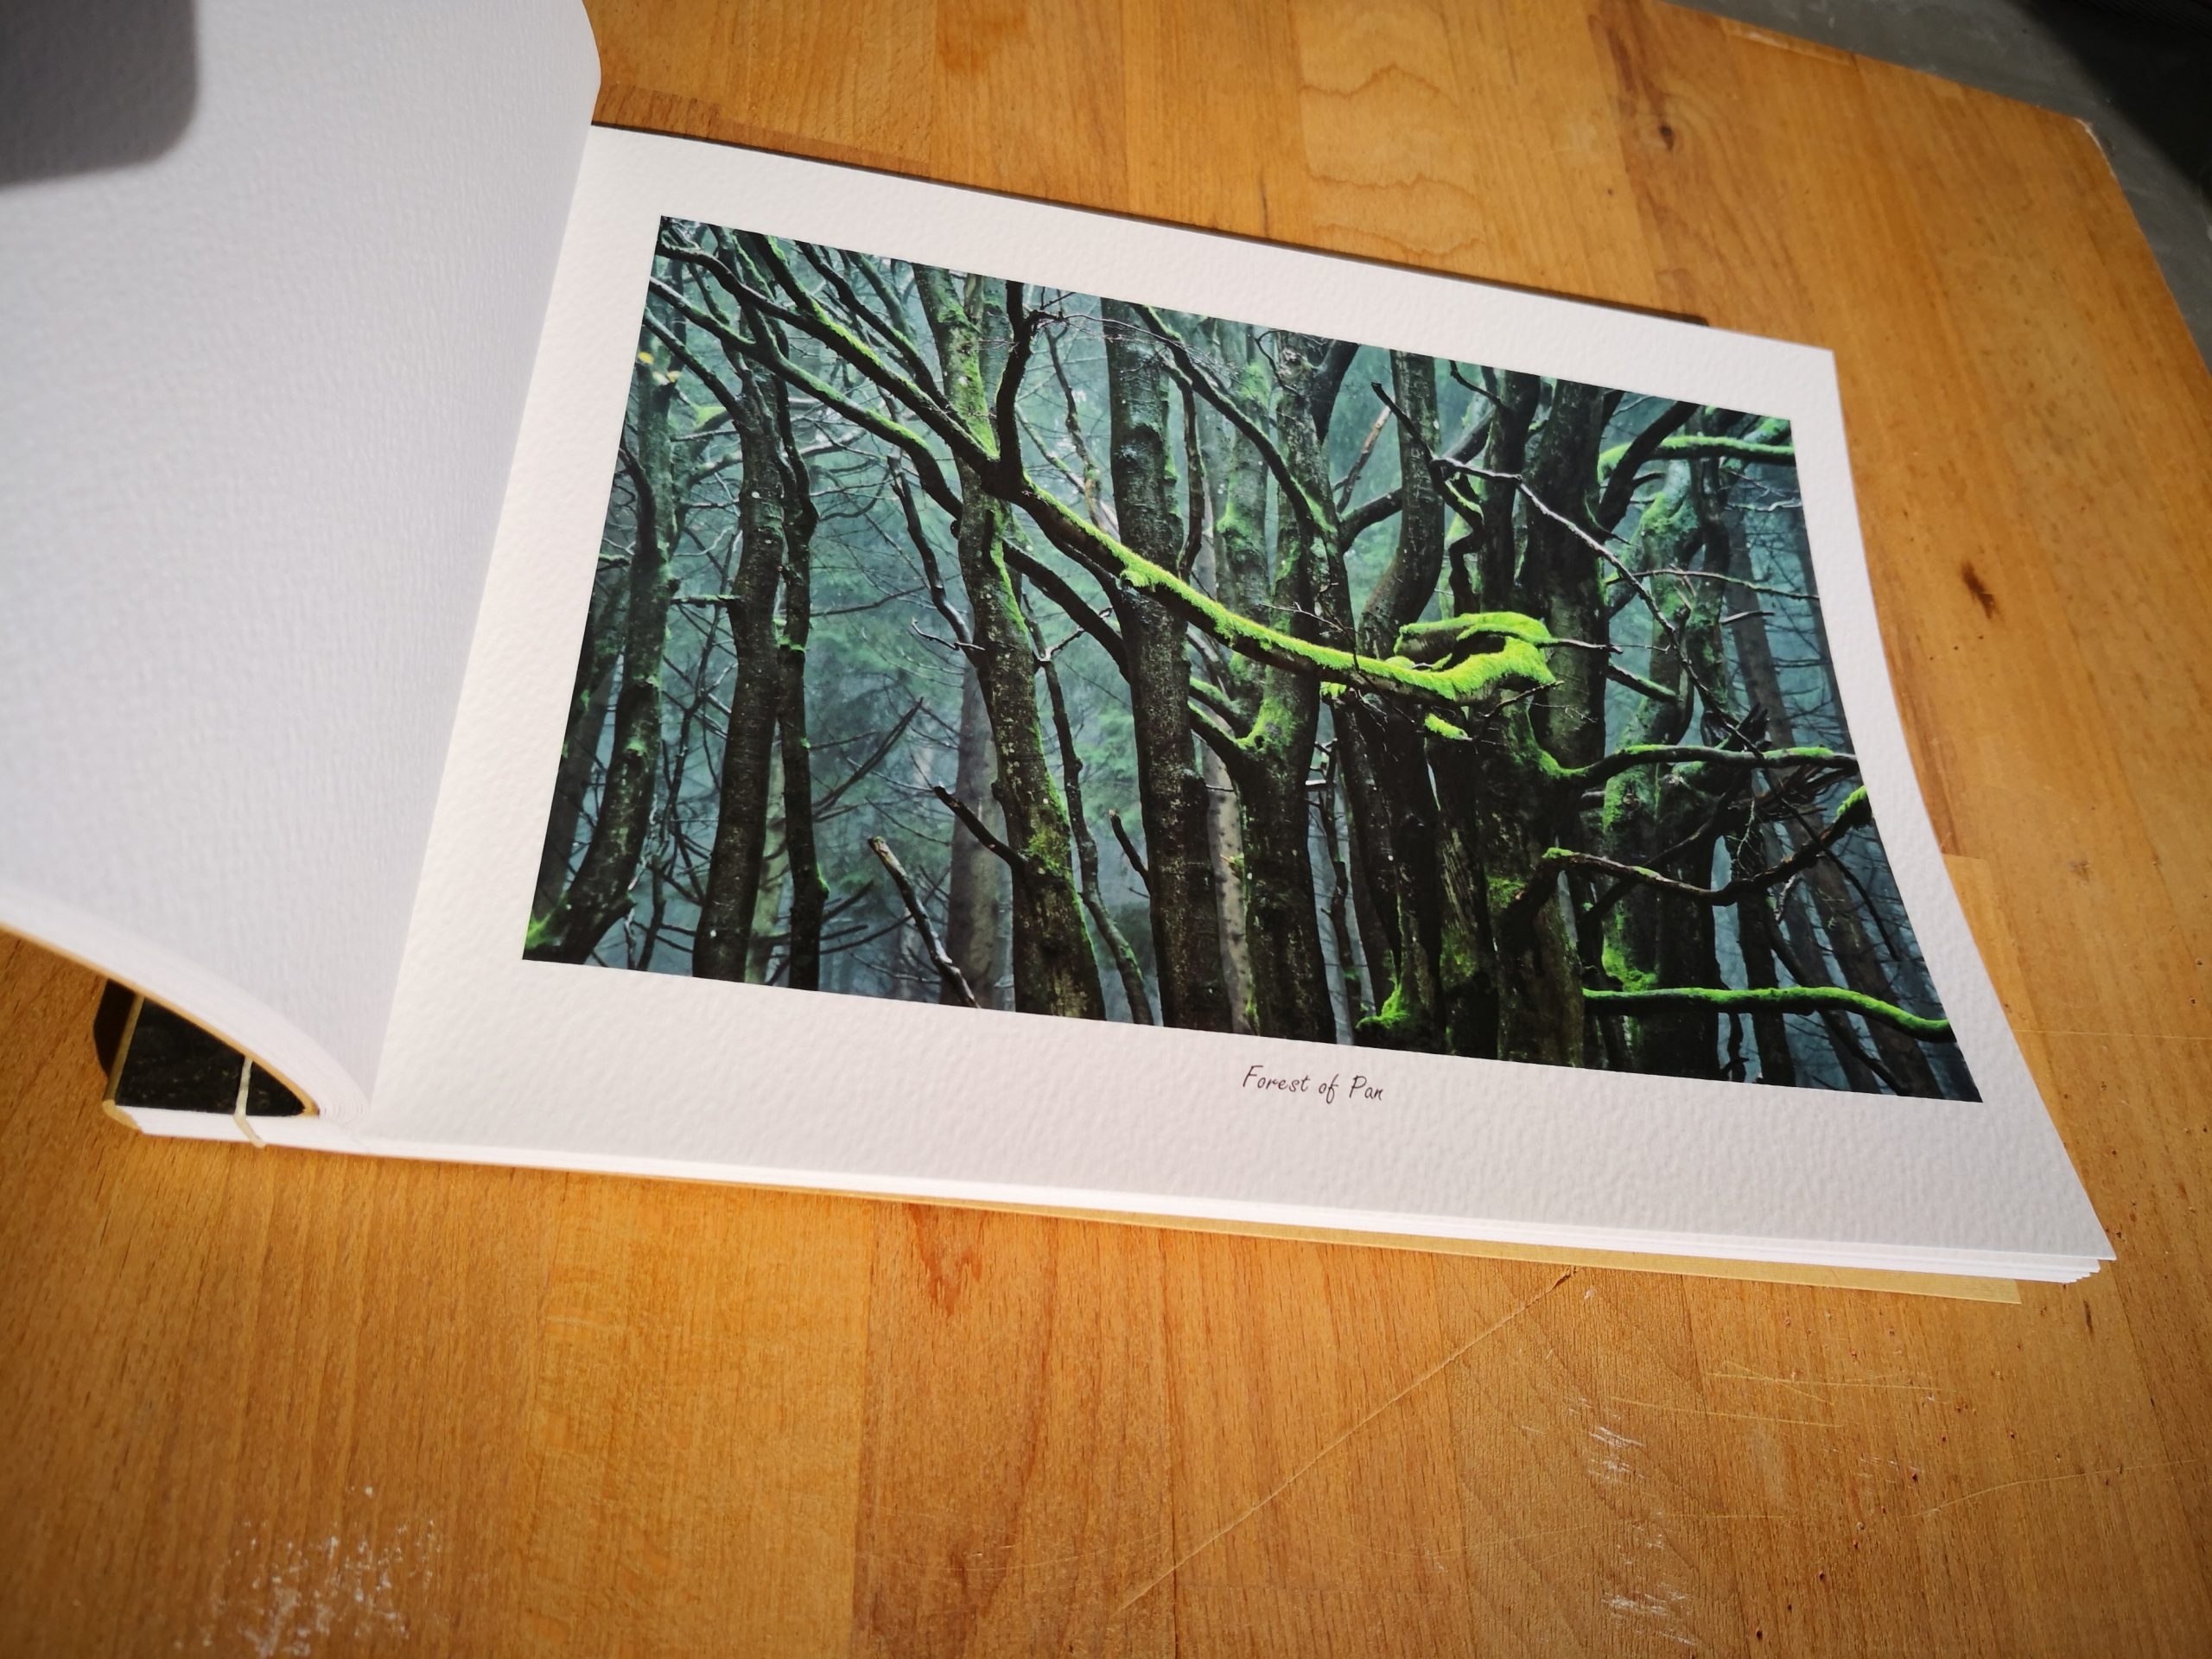
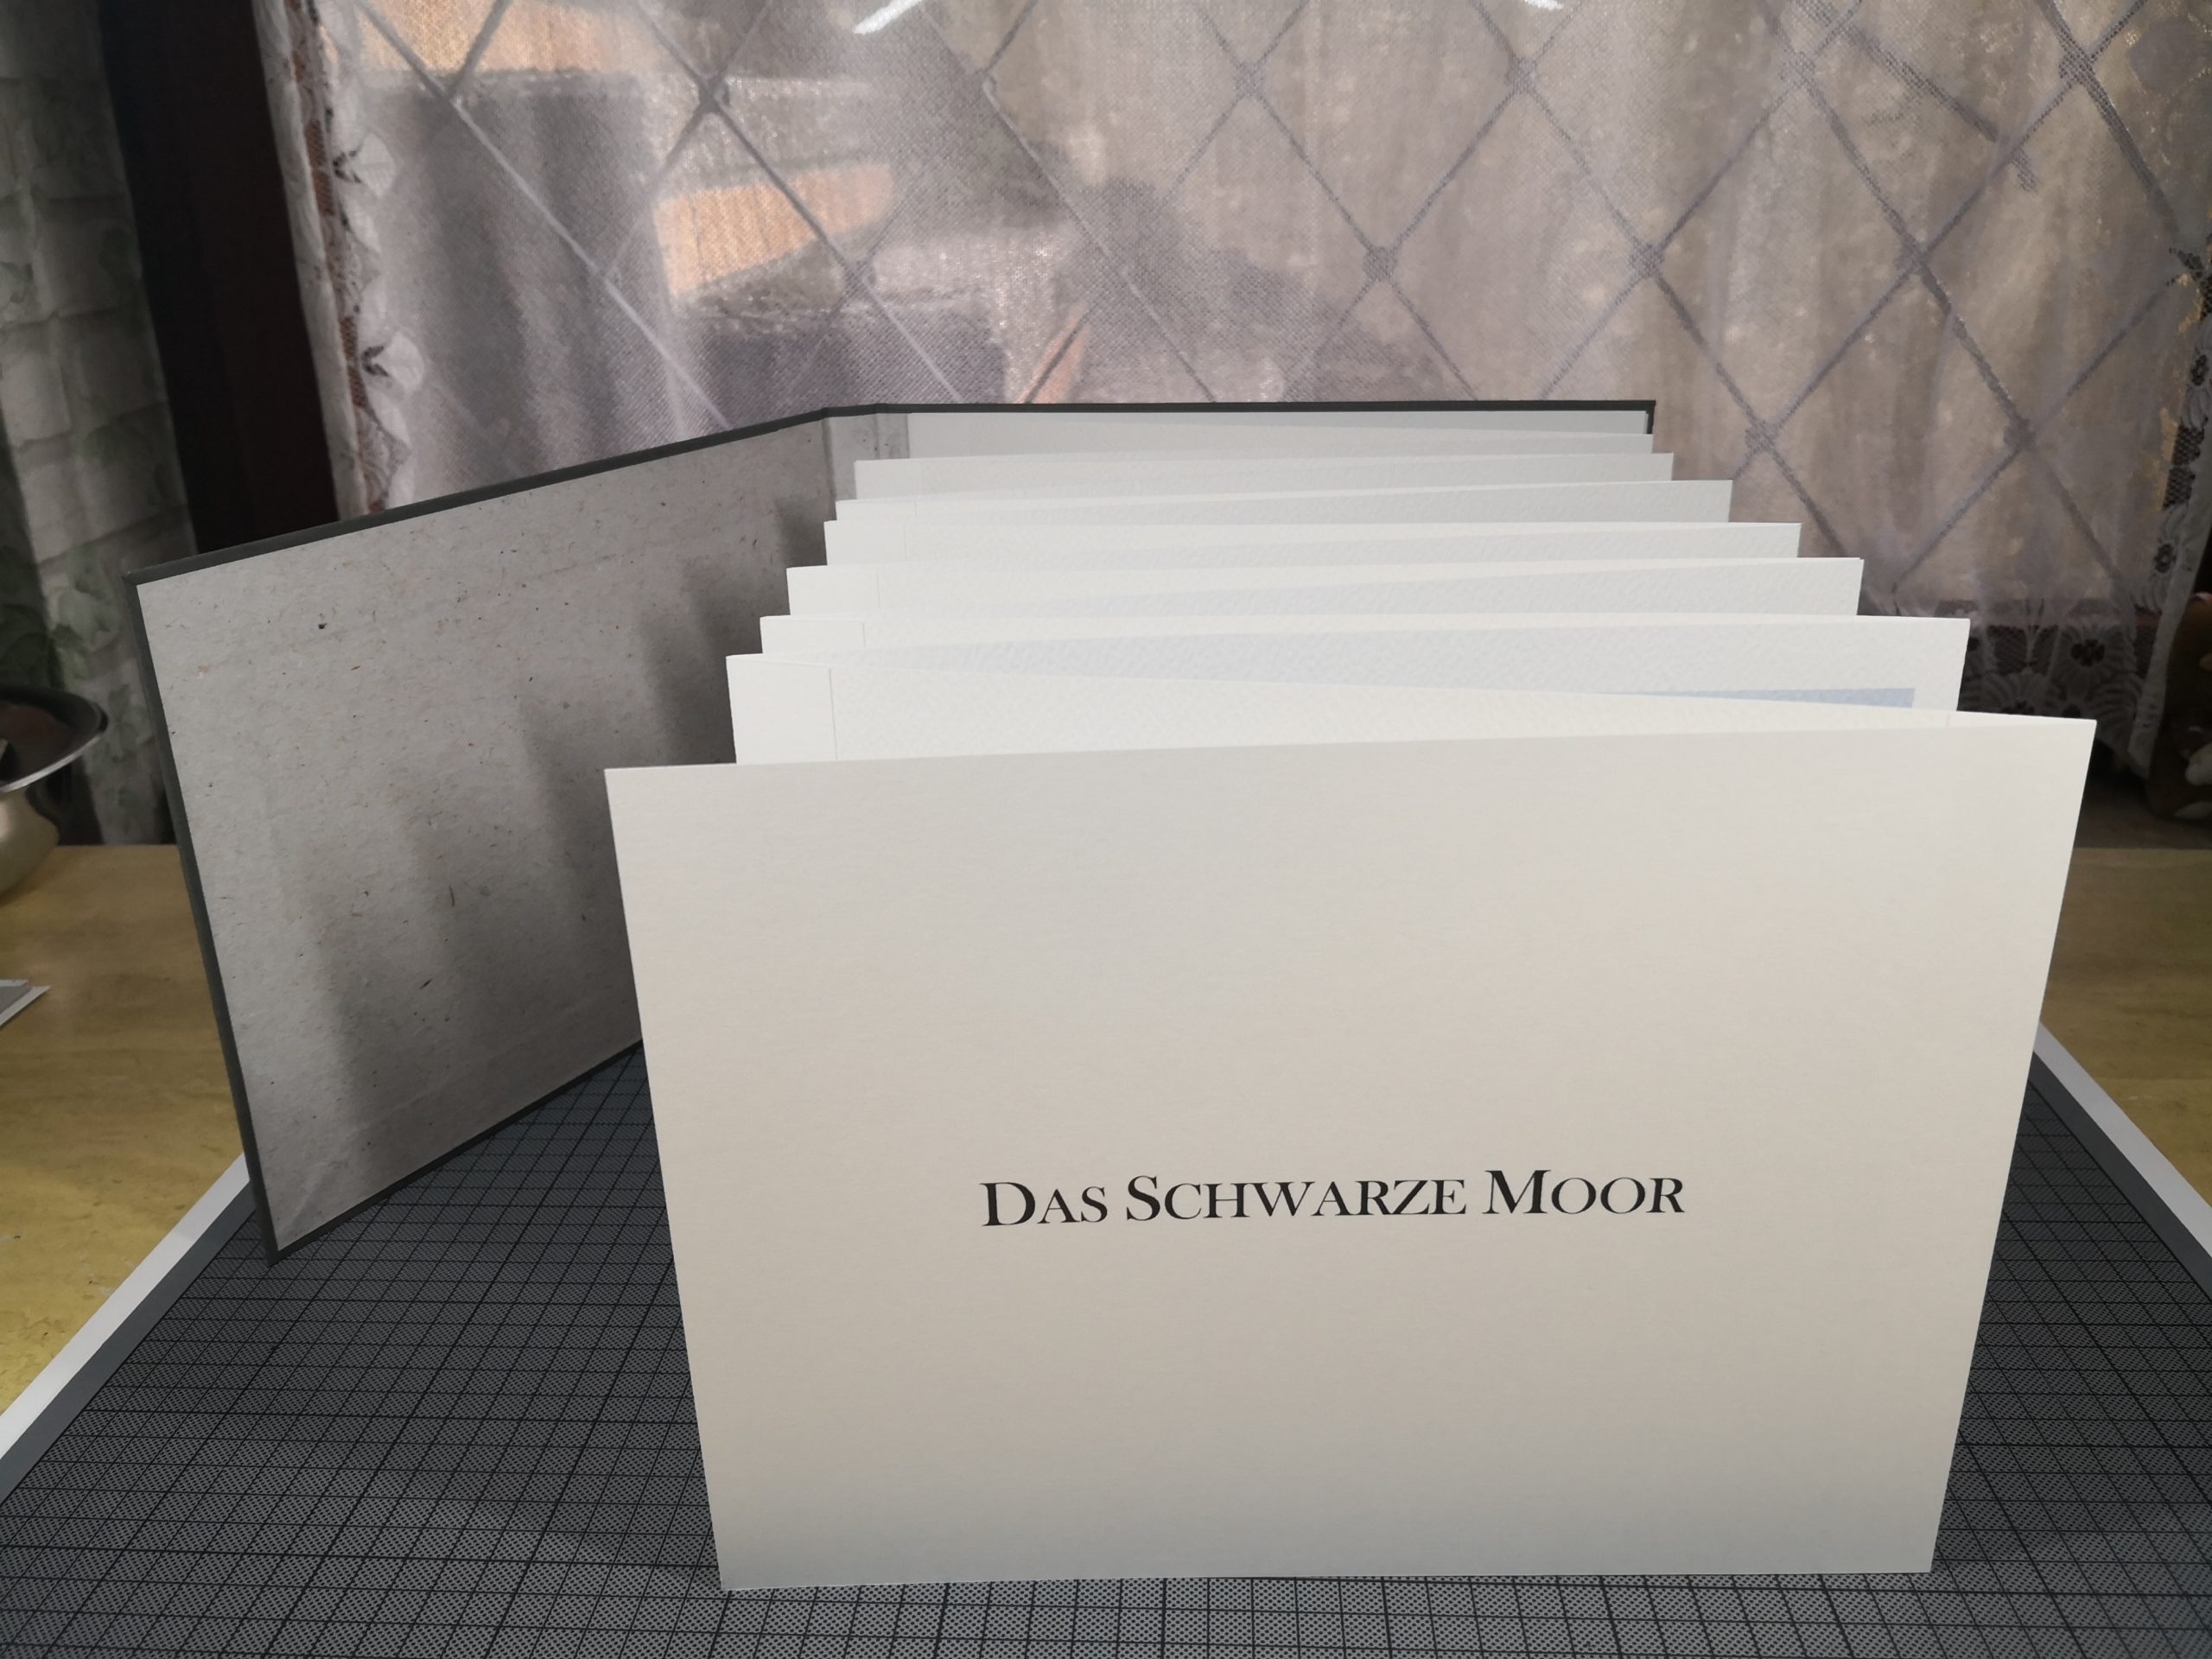
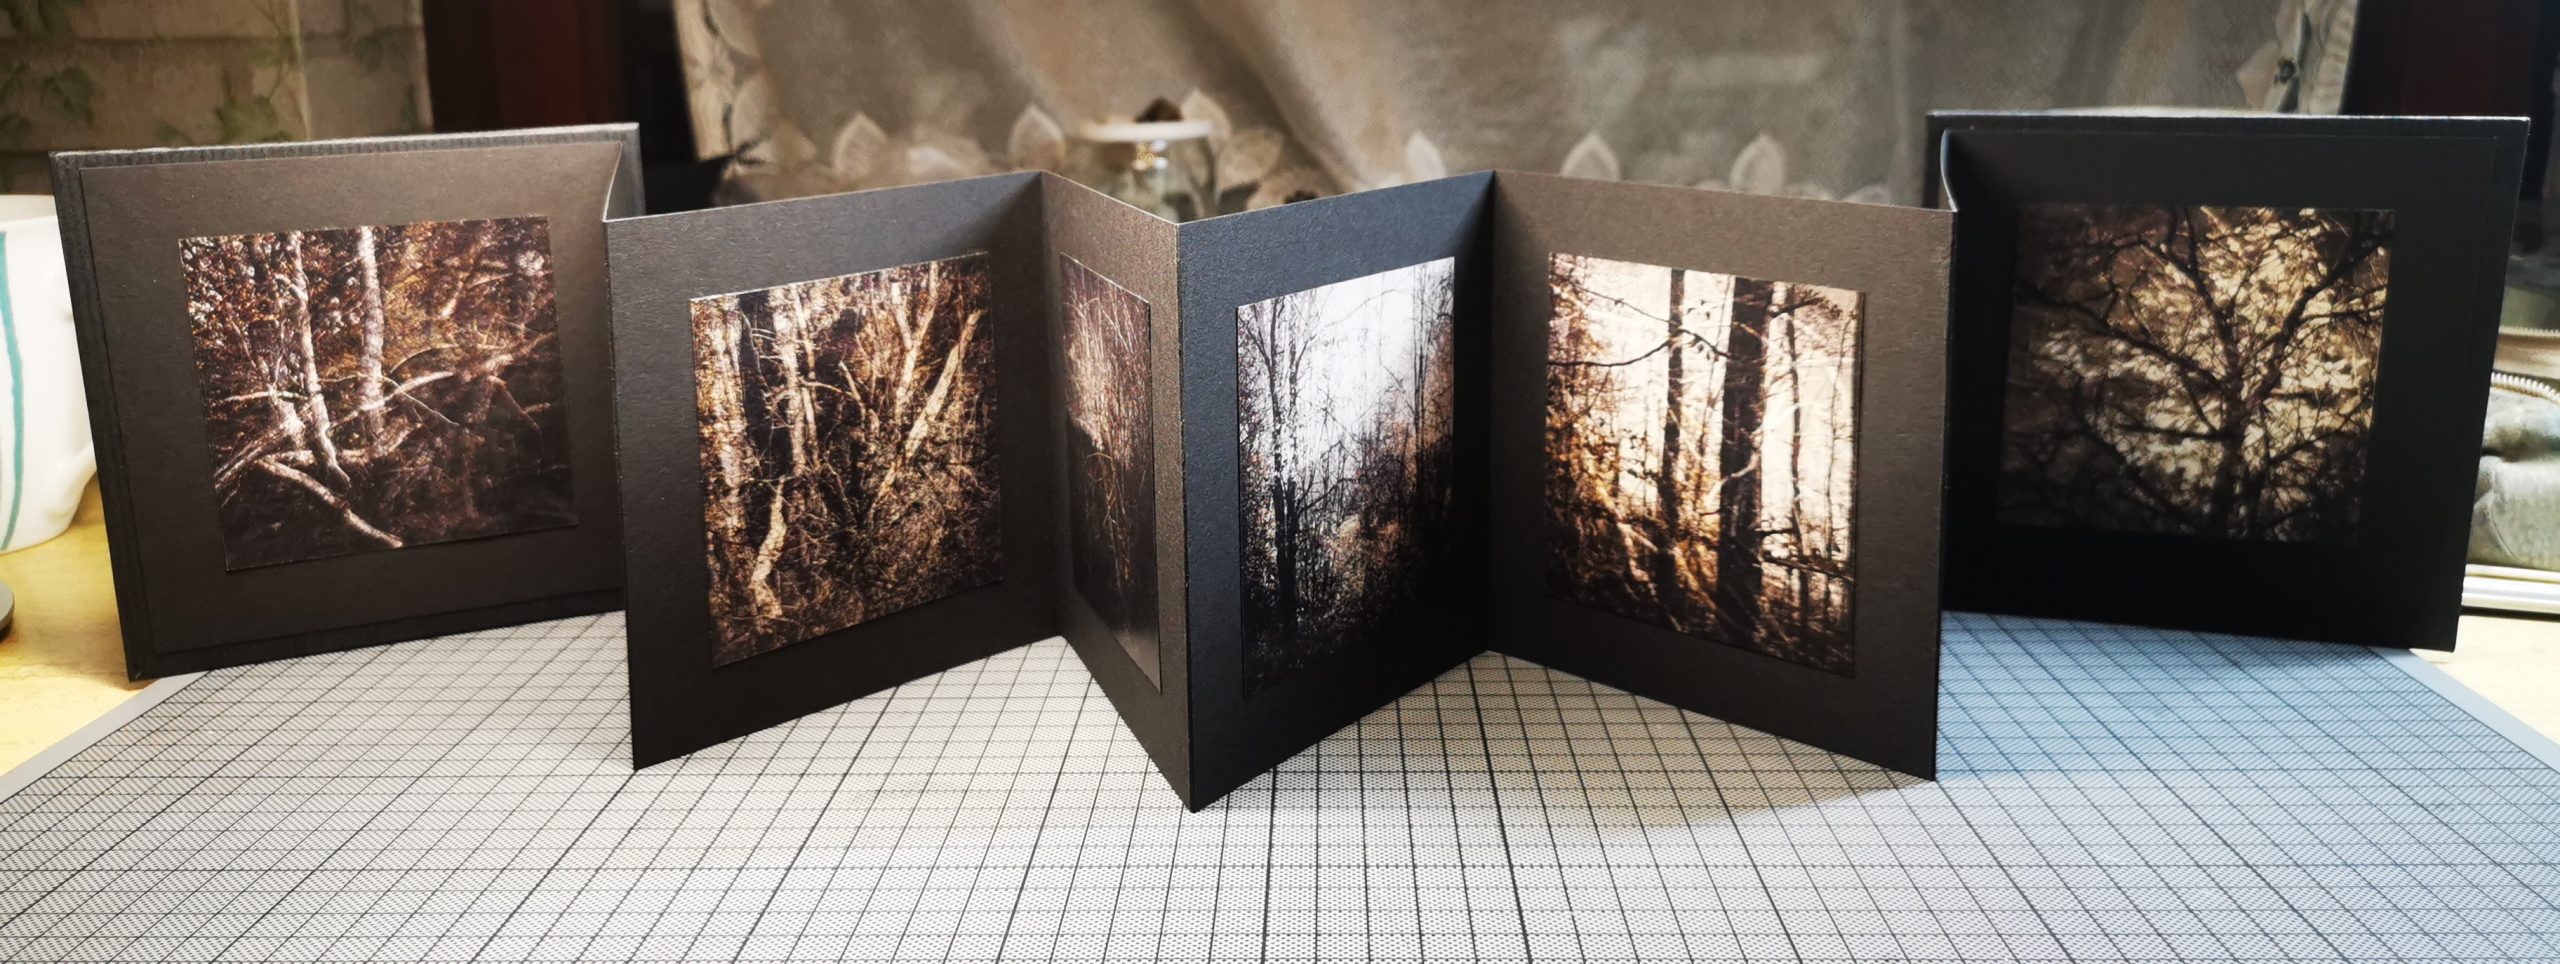
In 2018, I discovered the wonderful art of bookmaking as a possible presentation method for my photography. Tired of online photo sharing sites and social media, I had acquired a printer the year before. I really enjoyed trying out different papers and holding my photos in my hands again, like in earlier years of analogue photography. However, printing my photos just to put them into punched pockets or into a box in a shelf did not satisfy me for long. I then considered binding my photos into books and started research on bookbinding methods. I’m going to present some of my experiments on this page in the order they were created.

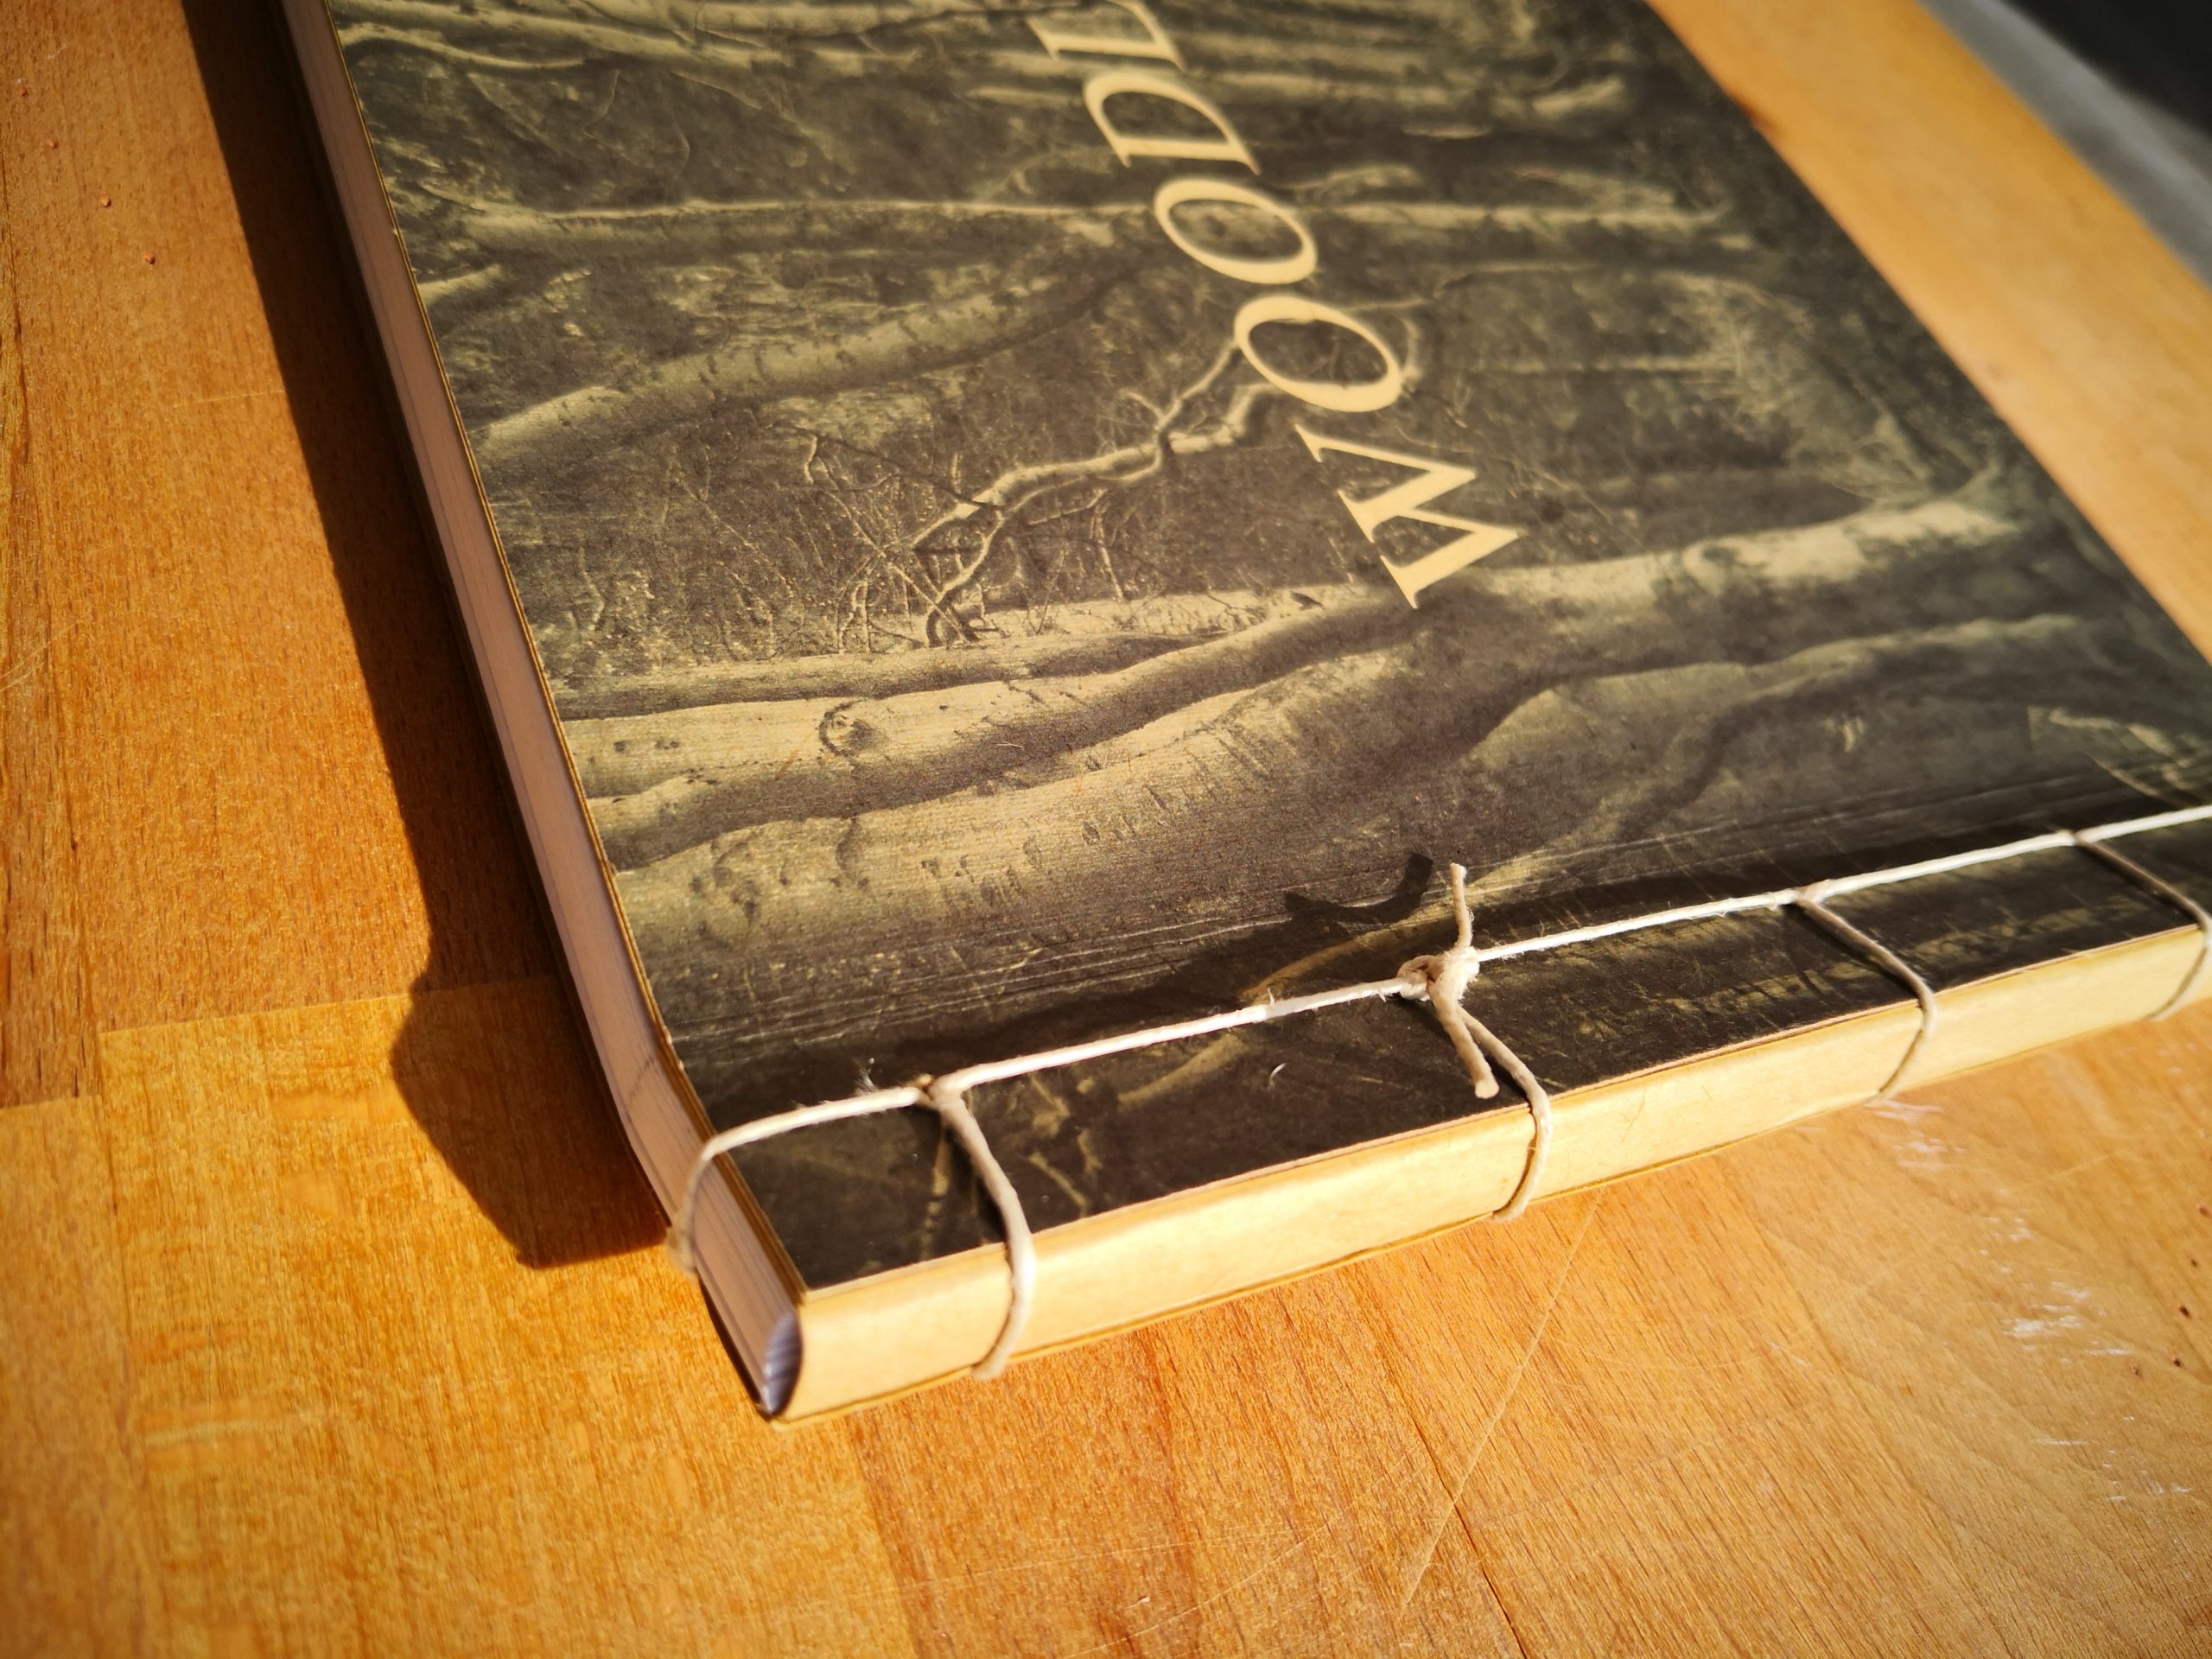
Generally I have found, that book making is not difficult, but one has to train oneself to be as precise as possible about measuring, cutting and glueing, to keep the work area and tools very clean and not to rush things. I was never happy with the results when I didn’t respect the above points.

Woodland

My first book making experiment. I selected a couple of images from my favourite topic and printed these on A4 Fotospeed Natural Textured Bright White 315 pages. I then printed the cover image on linen embossed paper and used a simple Japanese stitch binding technique to bind the pages together. I added some paper to cover the spine, because I don’t like to keep it open. I found the 315g to be a little too thick for the book block. Leafing through the book is a rather stiff experience. The texture of the paper is also a bit too pronounced for my taste.

Whiteout

For my second book project, I printed on 102g A5 (A4 halved) matte paper by Epson and ‘bound’ the pages with self-adhesive bookbinding tape. The paper has a one-sided printing layer, but the backside was good for printing some text. For the cover, I wrapped 2 mm cardboard with grey cover paper and glued one image on top. The hinges of the cover are a little too thin. The Epson paper is a bit dull, I wouldn’t use it again.

Das Schwarze Moor

I still had some pages of the A4 Fotospeed Natural Textured Bright White 315 paper, so I decided to use this heavy paper for a concertina book. The weight of the paper was much better suited for this than for the stab bound book, because it provided good stability. I used 5 cm wide strips of paper as hinges on the backside of the pages, glued on with PVA glue. I wrapped the book cover in light grey cover paper with subtle linen embossing and glued the cover image on the front. The hinges are still a little too thin, but better than on the Whiteout book.

Trees Need Not Walk the Earth

The next project is another Japanese stab bound book. This time I used 250g matte duo paper by Schwarzwaldmühle. The print quality is not bad, but darked areas tend to smear a bit and can leave residue on opposite pages. The weight is still a bit too high for this binding type. The inside cover lining and the spine cover was done with a lovely Japanese long fibred paper. It is not easy to glue this, because it is very thin. The outside cover is wrapped with black cover paper with linen embossing. I left an area uncovered for a little tree design image below. I should have left more negative space around images and more blank pages. The overall impression is a bit heavy because of that.

Silence

This one is a lay flat book with folded sections of the A4 page glued to the front of each previous page as a hinge. I used Fotospeed matt duo 240g paper for this which worked well for the most part. My main mistake was not pressing the glued hinges every couple of pages. Thus, they did not dry evenly.
For the front cover, I used two sheets of 1 mm cardboard and cut out an area in one of them to get a recessed front image. I glued these sheets together and wrapped the whole cover. The main cover paper is a darker version of the one I used for Whiteout. This time the hinges are wide enough.

Forest of Ghosts

This book was the most challenging so far. It’s a multisection bound book made with 5 sections of respectively 2 A4 leaves folded to A5. Each section has 8 pages. It is printed on 190g A4 Tecco Portrait Matt Duo paper, which I like a lot.
The 5 sections were sewn together with waxed cotton thread and the book block was then joined with the book cover by glueing them together with the inlay cover paper. At first there was a stability issue, because the patterned inlay paper was too thin, which is why I added the black inlay paper. Leaving part of the patterned paper uncovered was a belated design decision, that worked really well.
For the outside cover I used a thick uncoated handmade paper (not by me). I wanted to print on this like on my first book, but the ink didn’t dry completely on this paper. I then used wood varnish and a brush to fix the ink and self-adhesive Washi paper to stabilise the corners.
This book is a good example
of how not having a plan and covering up mistakes can lead to some very interesting and satisfying design discoveries 🙂

Hidden Layers of Perception

After making 6 books without any guidance, I decided it was about time to take part in a bookmaking workshop. I joined Lizzie Shepherd and Alex Hare in their online workshop on how to create a simple concertina booklet. It was great fun and I got some good advice on improving my technique and workflow.
The cover wrapping is 65g kraft paper by Canson, inside is 300g black photo cardboard, the images are printed on 180g HP glossy paper and glued on the black pages, the recessed cover imge is printed on Hahnmühle Pearl photo paper, because it’s less sensitive to touch than the HP paper.